 Guide On Map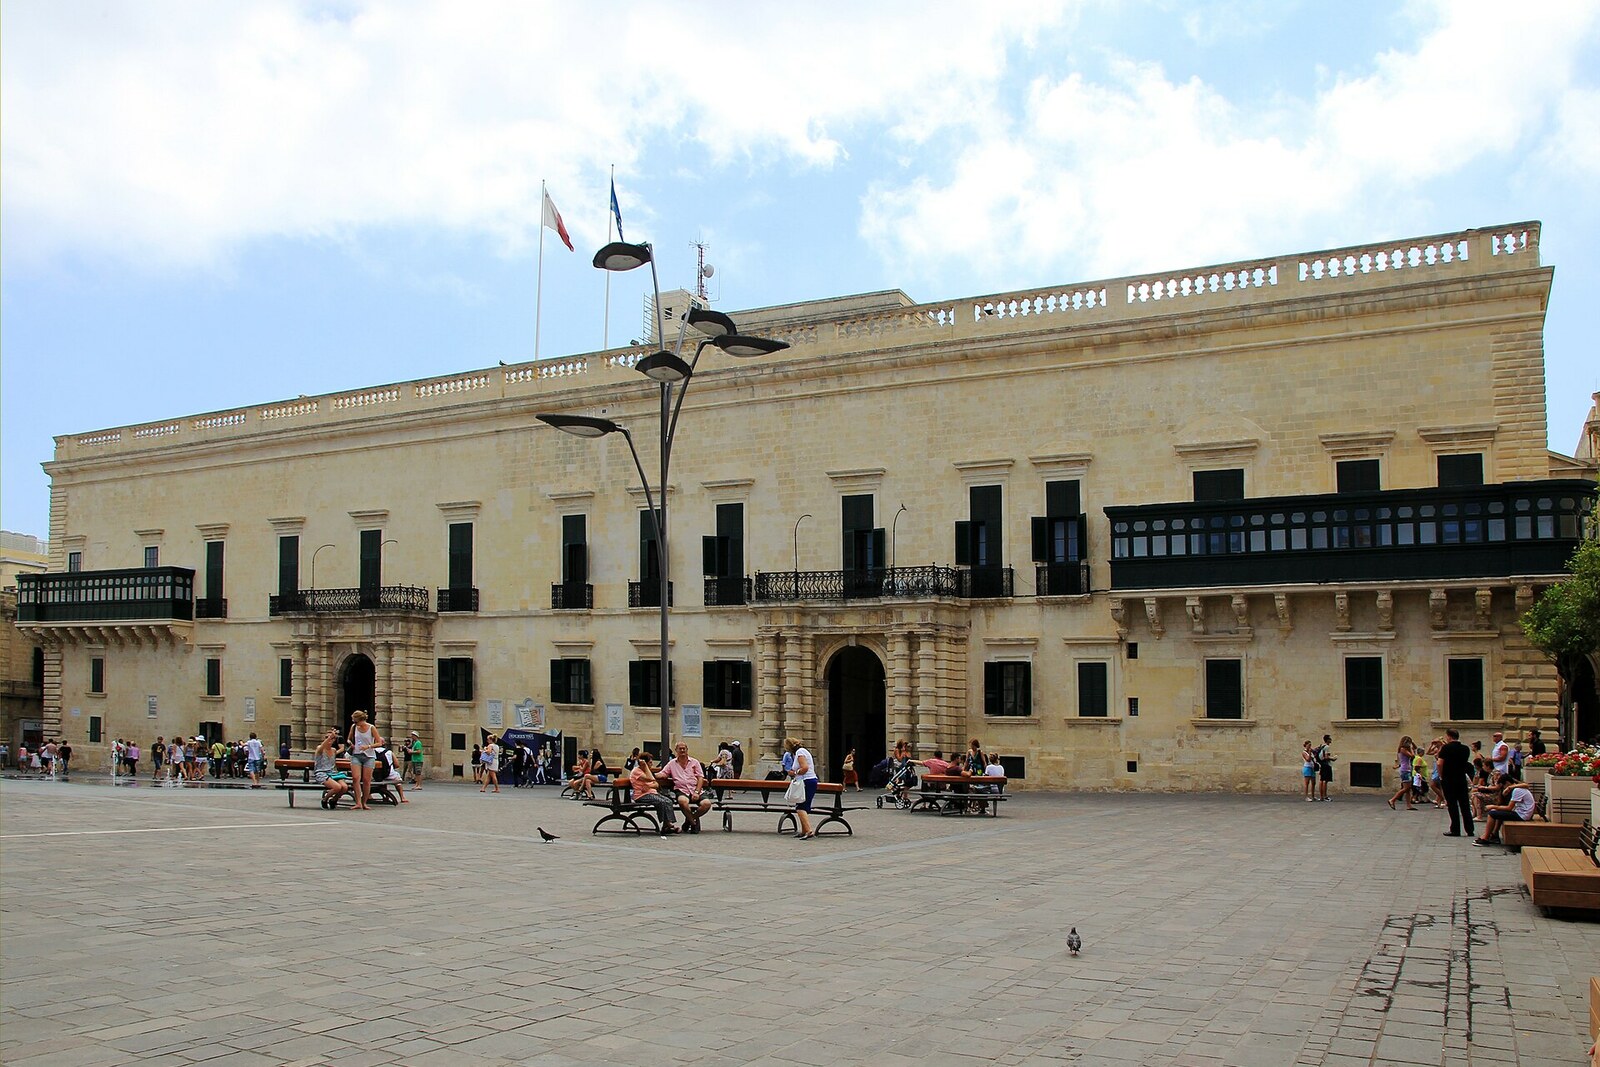
Look around first
What to notice
- The palace's main facade
- Palace Armoury
- Inner courtyard
The story of the place
Beneath these stone walls, several services of the Order of St John once came together: the private quarters of its elected head, council chambers, offices, and an arsenal. The main facade acquired its present appearance during the grand master’s time in office, which lasted until seventeen seventy-three; an inner courtyard remains behind it. On the upper floor, the Palace Armoury once again occupies its historic room after restoration. The remaining rooms now serve as a museum and the residence of the president of Malta.
At dawn on June seventh, seventeen forty-nine, Giuseppe Cohen, the owner of a Valletta tavern, came to this palace alone. He wanted to warn Manuel Pinto da Fonseca: members of the palace staff and guard were planning to murder him.
Pinto was the grand master—the elected head of the Order of St John and ruler of Malta. That is where the palace gets its name. His quarters, council chambers, offices, and arsenal were here. Killing Pinto here would mean immediately taking control of his residence, the weapons, and the island's government.
The conspiracy was begun by Mustafa Pasha of Rhodes, the former governor of Rhodes. A year earlier, Christian enslaved people had captured his galley and brought their captive master to Malta. Mustafa had lost his ship and his hope of a new lucrative appointment. Seizing the island was meant to restore his standing with the Ottoman sultan.
June twenty-ninth, the feast of St Peter and St Paul, was chosen for the uprising. Many residents left Valletta for the festivities that day, while the Order's ships were on their summer voyage. After the festive dinner, Pinto's personal servant Imselletti was to strike the grand master with a poisoned dagger. The conspirators then planned to signal the courtyard, rouse the enslaved people working in the palace, and seize the Palace Armoury. Weapons from the palace arsenal would be carried to the enslaved people they had freed; the next step would be to capture the fortifications by the harbor.
An argument in Cohen's tavern exposed the plan. Three conspirators tried to recruit Giacomo Cassar, a soldier in the grand master's guard. Cassar refused, a fight broke out, and Cohen threw the participants out, but held the soldier back. Cassar confessed what the conversation had been about. They agreed to appear before Pinto together at dawn. Cassar did not come, and the innkeeper went to the palace without him. Cassar himself, meanwhile, informed his commander, so the grand master received two warnings.
Pinto ordered the suspects arrested. They were tortured during interrogation; some were executed, while others were sent to row on galleys. Mustafa Pasha of Rhodes escaped punishment thanks to France's intervention and later returned to Constantinople. Cassar received no reward: it emerged that he had known about the conspiracy for several weeks and had kept silent. Cohen was granted an annual payment of seven hundred fifty scudi and given a house in Valletta.
Pinto remained grand master until seventeen seventy-three. The facade of the palace before you acquired its present appearance during his time. Inside is still the Palace Armoury that the conspirators intended to seize; after restoration, the collection was returned to its historic room on the upper floor. The rest of the building serves as a museum and the residence of the president of Malta.
Useful on site
Daily 10:00–18:00, last entry at 17:30. The Throne Room is closed until further notice; state functions may affect access.
Checked: June 24, 2026. Check the official source before visiting.The building can be appreciated from the square without entering; the ceremonial rooms and the Palace Armoury are visited separately and may not be fully accessible.