 Guide On Map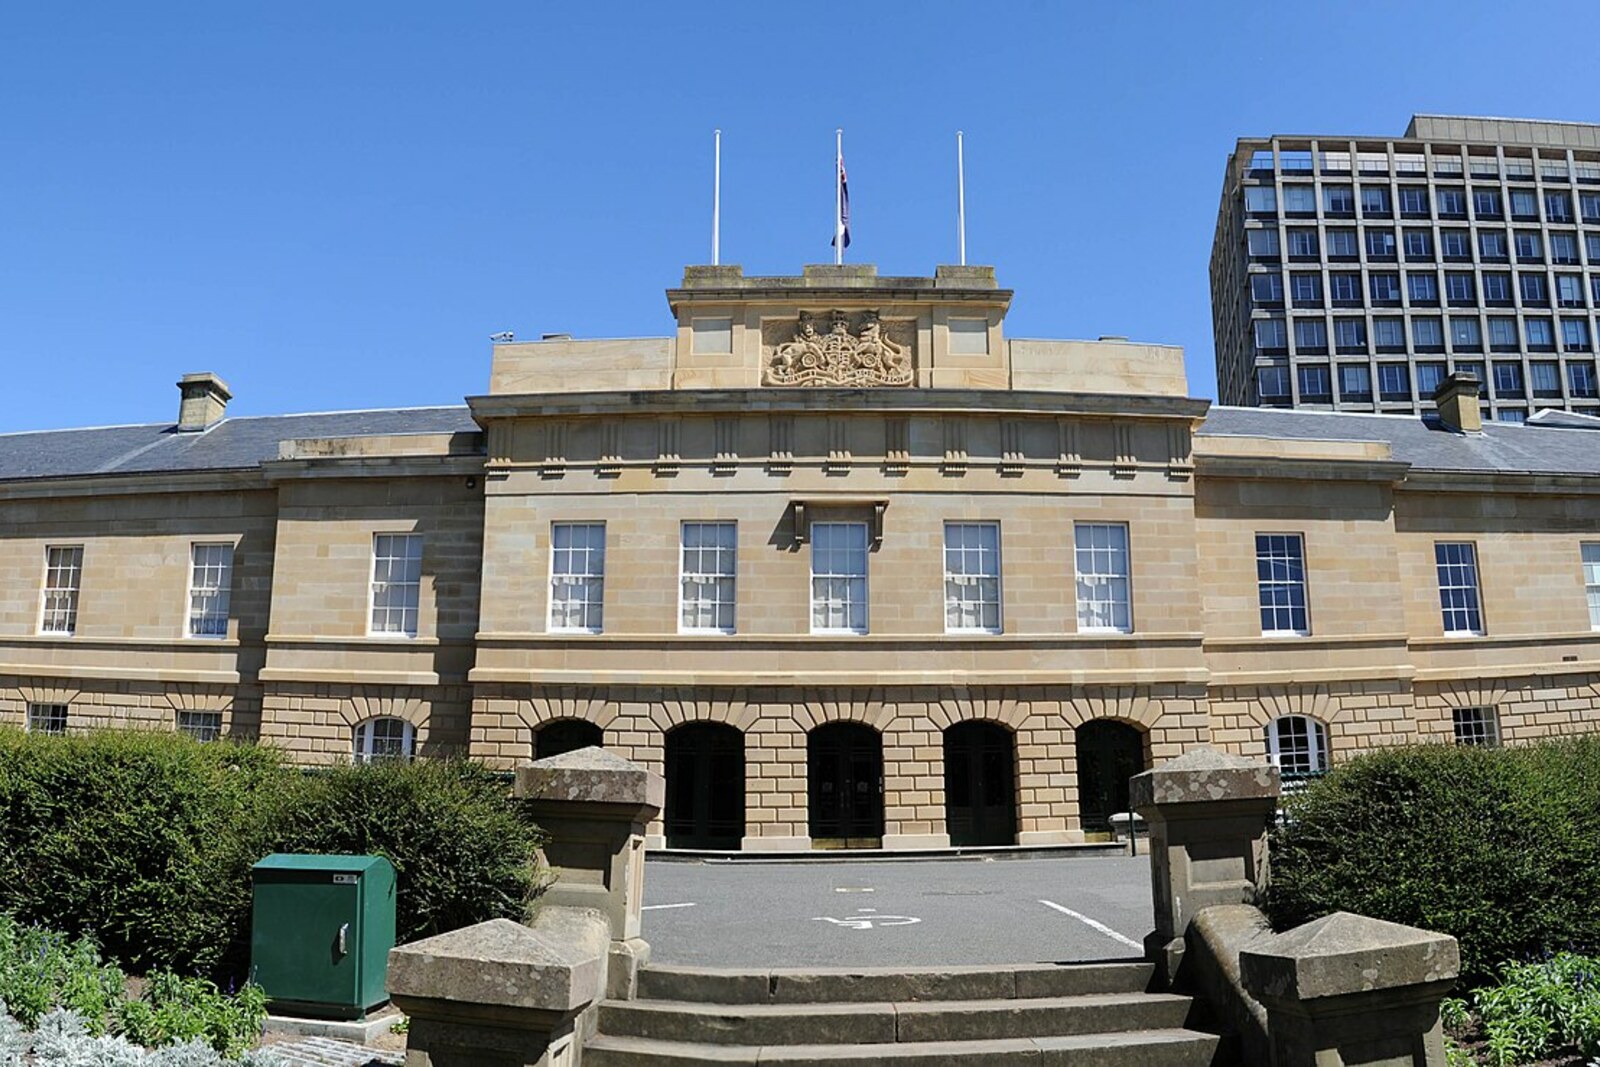
Look around first
What to notice
- Stone facade
- Royal Coat of Arms above the entrance
- Long Room
- Basement of the King's Warehouse
The story of the place
The Royal Coat of Arms above the stone facade appeared here only after the customs service moved out, when the former sign was removed in the early twentieth century. The parliamentary rooms were not built from scratch: a second chamber was adapted for an elected bicameral parliament in the mid-nineteenth century, while customs services continued working alongside it for almost another half-century. The Parliamentary Museum is now located below, and the Long Room survives above.
In this building's basement, goods brought by sea and barrels of rum were once locked away until their owners paid the duty. The space was called the King's Warehouse. On the floor above, people met who were one day asked to cover the costs of the convict system from those same colonial revenues.
This was originally where the customs house was meant to stand. When the shore lay much closer, cargo from ships could be taken from the wharves here straight to the warehouse. The colonial architect John Lee Archer prepared the design in eighteen thirty. The stone blocks were cut mainly by convicts, and on September first, eighteen forty, customs officials began work.
Nine months later, the administration assigned the upper Long Room to the Legislative Council. That was the name of Van Diemen's Land's only legislative advisory body at the time—Tasmania used that name until eighteen fifty-six. The Council was not elected: the governor appointed his own officials and several colonists to it.
One of those appointed was the thirty-year-old Sir Richard Dry. He lived on income from the inherited Quamby estate, and his seat on the Council gave him the opportunity to examine the colony's expenses. In the mid-eighteen forties, the island was going through an economic downturn, the number of convicts sent from Britain had increased, and maintaining the police and prisons cost the local treasury thirty-six thousand seven hundred thirty-seven pounds a year. London demanded that the colonists themselves pay an ever larger share of that sum.
Dry pressed for an inquiry into the expenses of the convict department. He wanted to prove to the British government that the system it had sent was ruining the island and displacing free workers. Lieutenant-Governor John Eardley-Wilmot sought to pass the budget without such an inquiry. Twice, when the votes were tied, he voted again as chair and rejected Dry's proposal.
On October thirty-first, eighteen forty-five, the budget was brought forward for its third reading. Dry and five other civilian members left the Long Room and resigned. After they left, there was no quorum—the set number of members without which the Council could not pass laws. The six lost their seats and direct access to decision-making. Newspapers called them the Patriotic Six, and when Dry returned to Launceston, a city procession welcomed him.
The governor appointed other councillors, but the dispute had to be resolved in London. In eighteen forty-six, the British Treasury agreed to pay two-thirds of the cost of the police and prisons. The Colonial Office accepted the six men's arguments, and in July eighteen forty-seven, they were sworn in again in this building. Four years later, Dry returned here as the elected representative for Launceston; the members of the renewed Council unanimously elected him their chair.
In eighteen fifty-six, a second chamber was fitted out for an elected bicameral parliament, and the colony was renamed Tasmania. Customs officers, however, occupied part of the building for almost another half-century. After they moved out in nineteen oh three and nineteen oh four, the words “Customs House” were removed from the facade and the Royal Coat of Arms was placed above the entrance. Beneath it, the basement of the King's Warehouse remains, now occupied by the Parliamentary Museum, and on the floor above is the Long Room, from which the six councillors disrupted the meeting.
Useful on site
The facade and garden are visible from public space; interior access depends on parliamentary business and specific programs.
Checked: date not specified. Check the official source before visiting.You can follow the main story from outside; check access to parliamentary rooms and the museum separately.